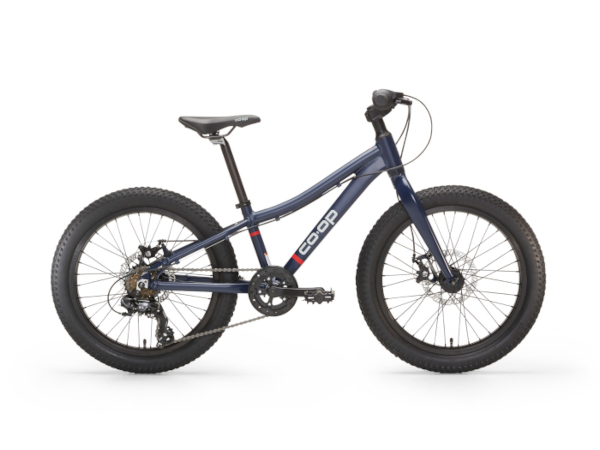
We started with a used 20-inch Co-op bike with disc brakes for our 6-year-old. We picked it up for $250, and it was a solid starting point for getting her into mountain biking. As her skills and confidence grew, we decided to upgrade the bike to improve its performance and make it more capable on the trails. The goal wasn’t just to make it “cooler,” but to give her a setup that could keep up with her progress—and keep her excited to ride.
From Grip Shifter to Click Shifter
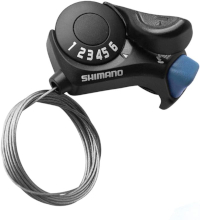
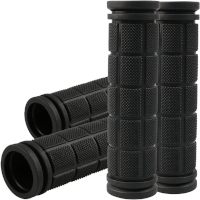
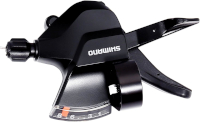
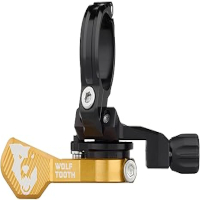
Our first upgrade was changing the grip shifter to a click shifter. The grip shifter was difficult for her to use, making shifting gears a challenging task. With the click shifter, she found it much easier to change gears, which allowed her to enjoy her rides at the pump tracks and small hills more comfortably. This simple upgrade to the kids MTB made a significant difference. It's important to note that when upgrading to a click shifter, you will also need new handlebar grips, which cost $7. The cost for the click shifter was $12.99.
As an Amazon Associate I earn from qualifying purchases.
Upgrading the Drivetrain
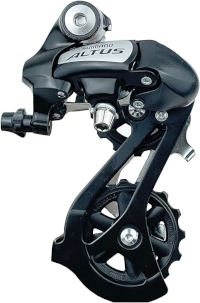
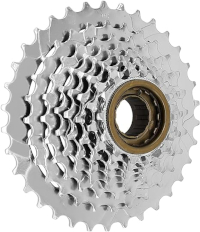
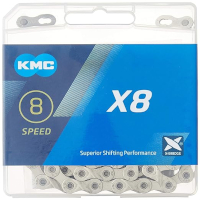
As her skills improved, she began to seek more challenging terrains. The original gearing system, a 14-28T 6-speed, started to limit her ability to climb bigger hills. To address this, we upgraded the kids MTB drivetrain to a 13-34T 8-speed freewheel. This upgrade provided a wider range of gears, making it easier for her to tackle slightly steeper inclines.
However, it was still not enough. We added 6 more teeth to the rear freewheel, but compared to my bike's 30T chainring and 52T granny gear, it was as if she was riding in 4th gear up everything. The cost for the drivetrain upgrades was about $86.76.
Further Enhancements to the Drivetrain
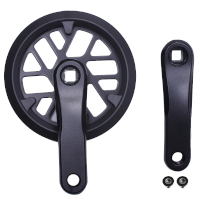
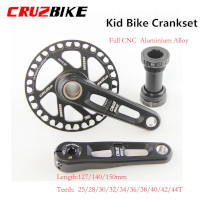
To further improve climbing, we replaced the front chainring with a 25-tooth one, equivalent to adding 10-15 teeth in the rear, effectively making it 44-49T. This significantly improved her climbing ability, offering a better gear ratio for tough uphill sections. We kept the 127 mm crankarm length, enhancing her performance on steeper terrains. Other than the click shifter, this was the best upgrade to the bike so far.
If I could only do two upgrades, it would be the click shifter and changing the front chainring. However, I could only find one supplier for the 25T crankset in the US, and it's hit or miss if they are in stock cost $57.99. I found another supplier out of the country called AliExpress. I was wary about ordering from them, but everything I have ordered so far has either arrived or been made right. The shipping time, however, is very slow.
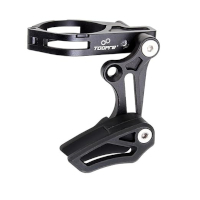
If you get the one from Aliexpress it needs a chain guard here are 2 options
Dropper Post
I love having a dropper post on my own bike, so I really wanted to get one for my daughter too. I noticed that when we were climbing hills, she didn’t like having the seat high enough for proper pedaling form—it just felt too tall for her, especially when stopping or starting. Now she rides with the seat at the right height for climbing, and she can easily lower it for downhills or when she stops. Even better, if she forgets to lower it before stopping, she’s gotten in the habit of dropping it before starting again and then raising it once she’s rolling. She loves it, and so do I!
The total setup cost us about $280 plus tax, but in my opinion, it was worth every penny for the boost in comfort, confidence, and control.
Special Tools for Upgrading a Kids MTB
Cost was $26.83
Crank puller, Freewheel remover and Chain breaker
Big Rides & Big Wins
One of her earlier wins at the beginning of the season was tackling a 1.5-mile climb with 327 feet of elevation gain. She took a few breaks along the way, but she made it to the top on her own—and it was a huge confidence booster.
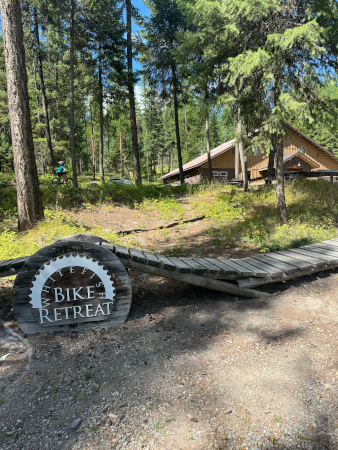
About a third of the way through the season, we headed to the Whitefish Bike Retreat, where she took on her biggest challenge yet: an 11-mile ride with 1,568 feet of climbing and descending. It took us five hours, with some tears, huckleberries from the side of the trail, and me walking her bike for the final 300-foot climb. All the while, her little brother was riding along in his Shotgun seat, cheering us on—and by the end, doing his best not to fall asleep.
But despite the tough ride, she said she loved it. After grabbing a complimentary ice pop from the office back at camp, she was right back on her bike, playing on the wooden structures like nothing ever happened.
Seeing her bounce back like that just proves how the right upgrades—and a little encouragement—can really fuel a kid’s love for riding.
Conclusion
Upgrading a kid’s mountain bike can make a huge difference in how much they enjoy the ride. We invested around $480 to upgrade the bike (or about $760 including the dropper post, with tax), and it was absolutely worth it. One of the biggest changes was switching to a click shifter and upgrading the drivetrain, which made it so much easier for her to handle climbs and shift gears confidently on tougher trails.
The best part? All of the components we added can transfer over to a 24-inch bike when she’s ready to size up—making it not just an upgrade for now, but an investment in her riding future.
